Filterstorm Tutorial: Downtown Sunset
A few months ago I posted this photo shortly before my review of the Tokina 11–16mm f/2.8. I tend not to do too much post processing on most photos I put up here, and this one was more involved than most, so as part of my testing of my iPad app Filterstorm, I decided this would be a good image to recreate. I also figured it would be a good idea to share the how I did it to give people an idea as to how Filterstorm will work. This was all done on a pre-release build, so everything you see is subject to change.
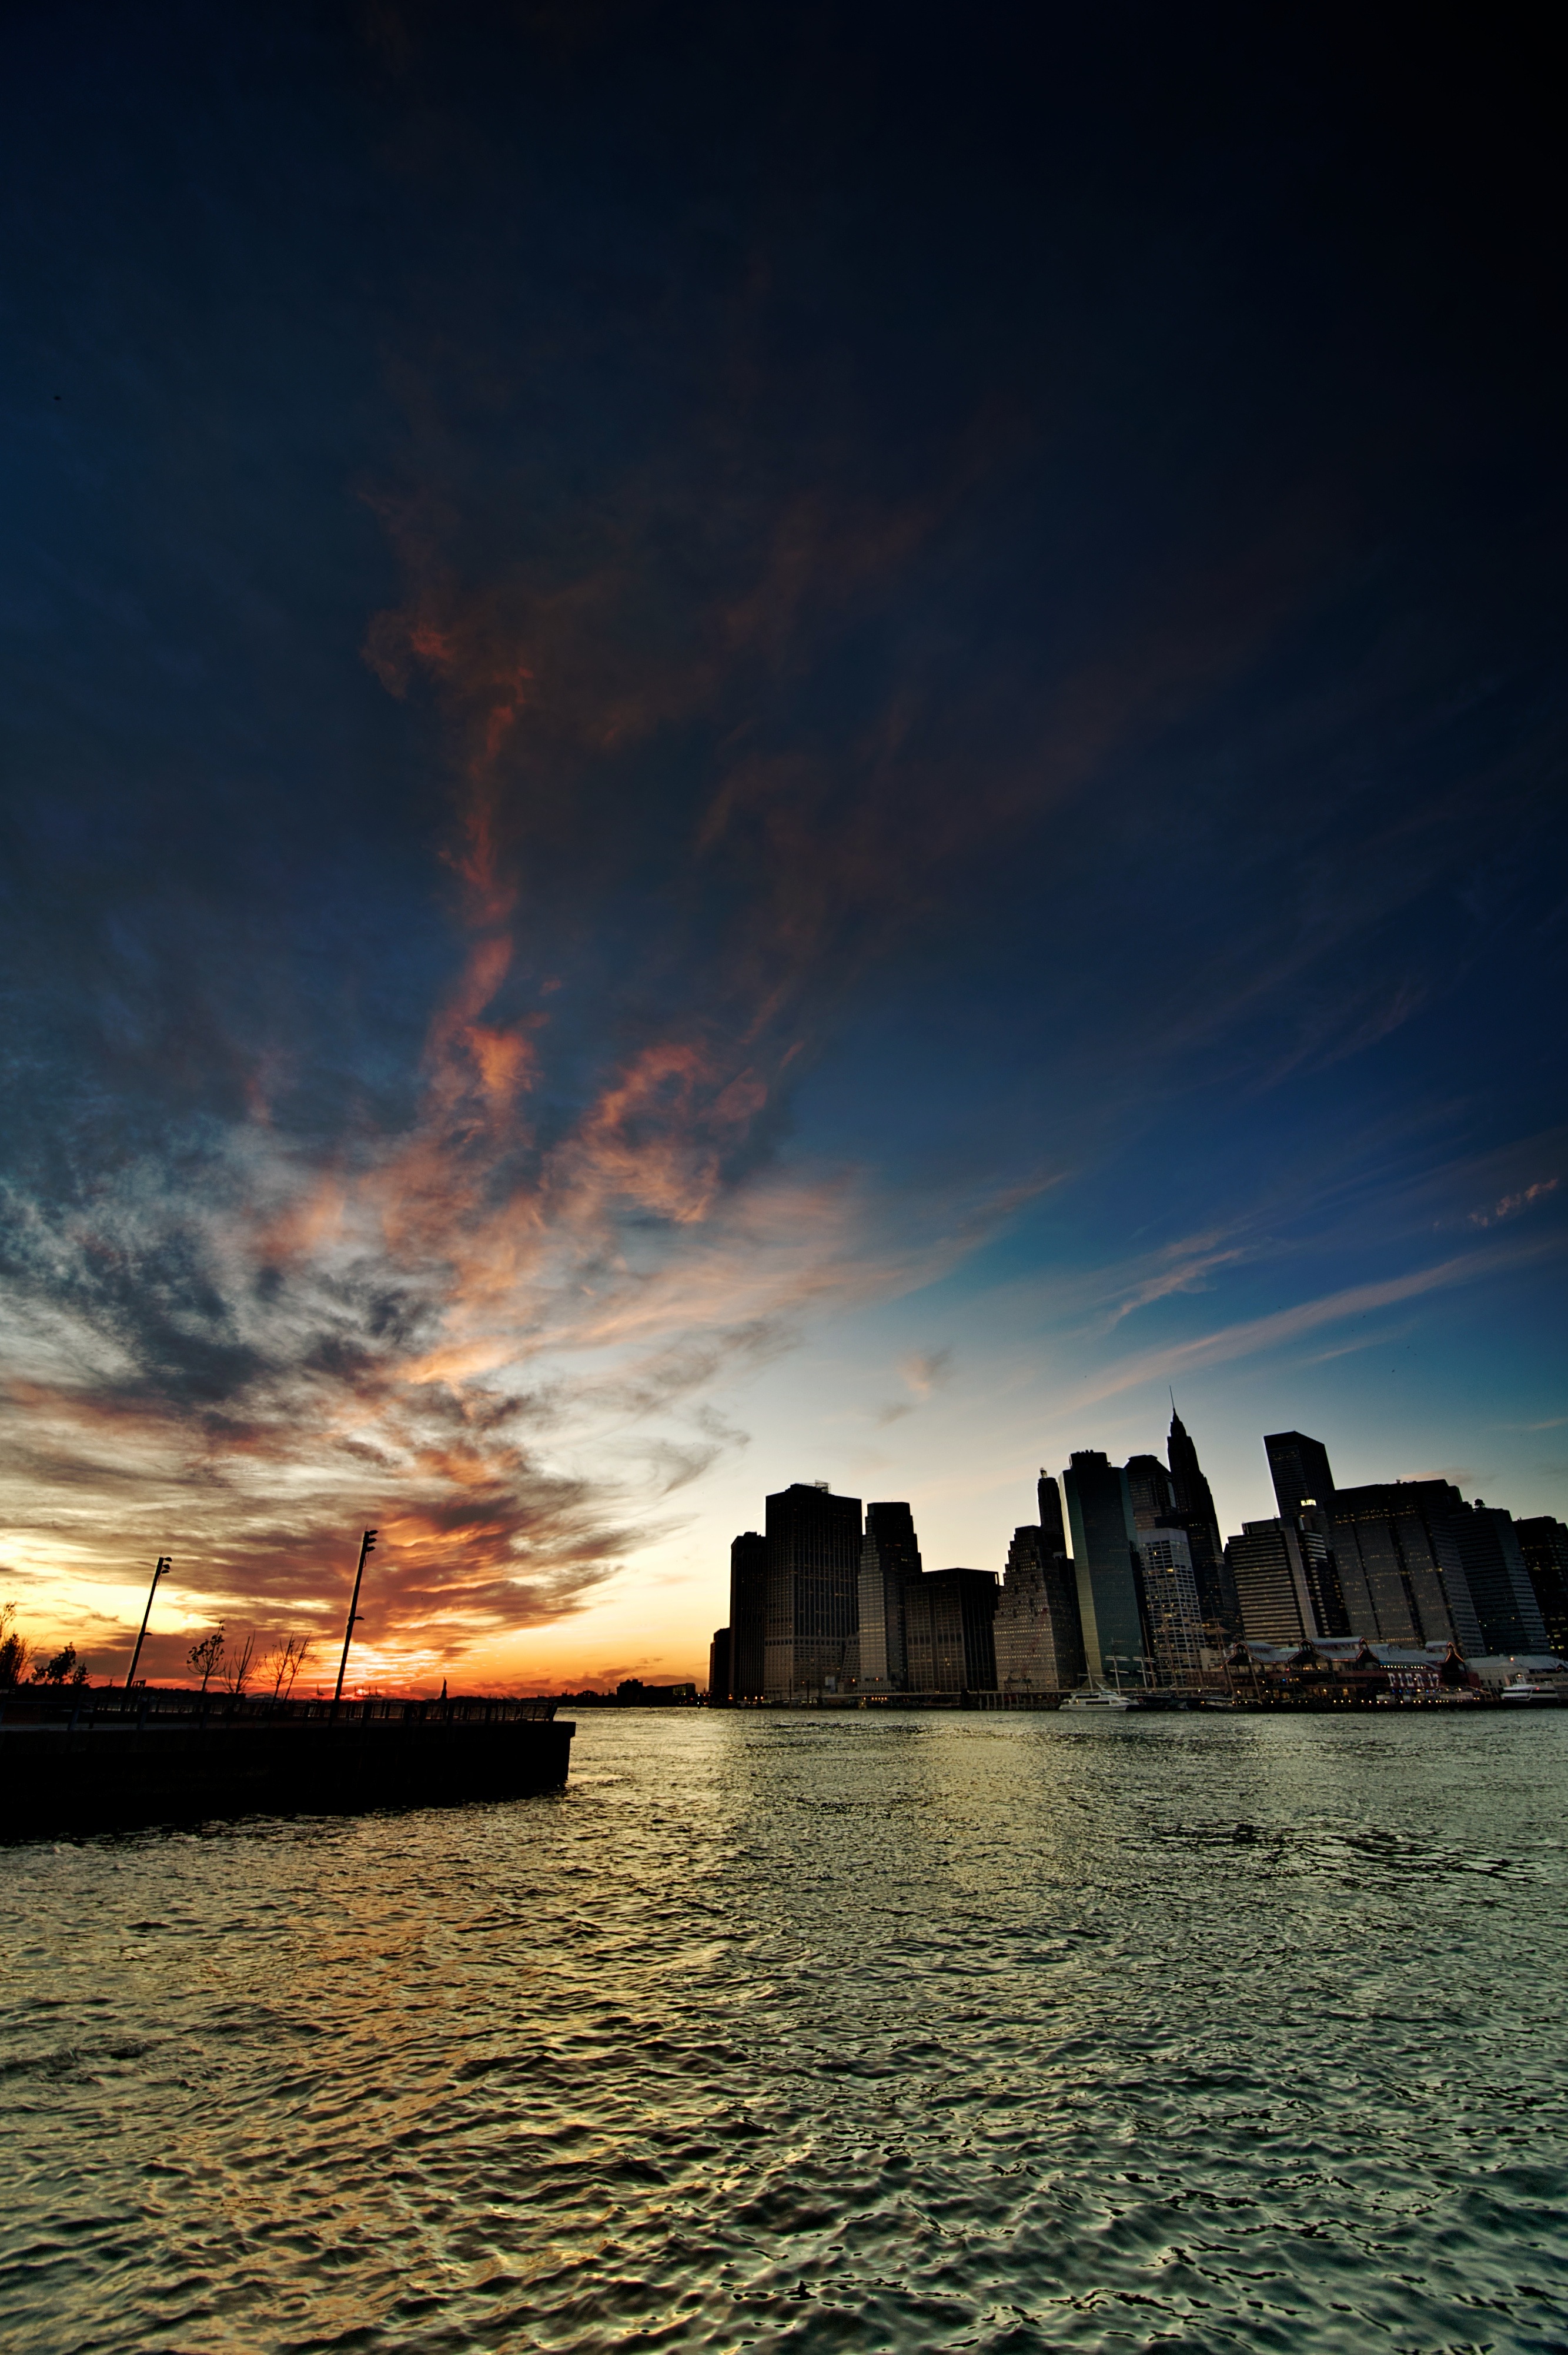
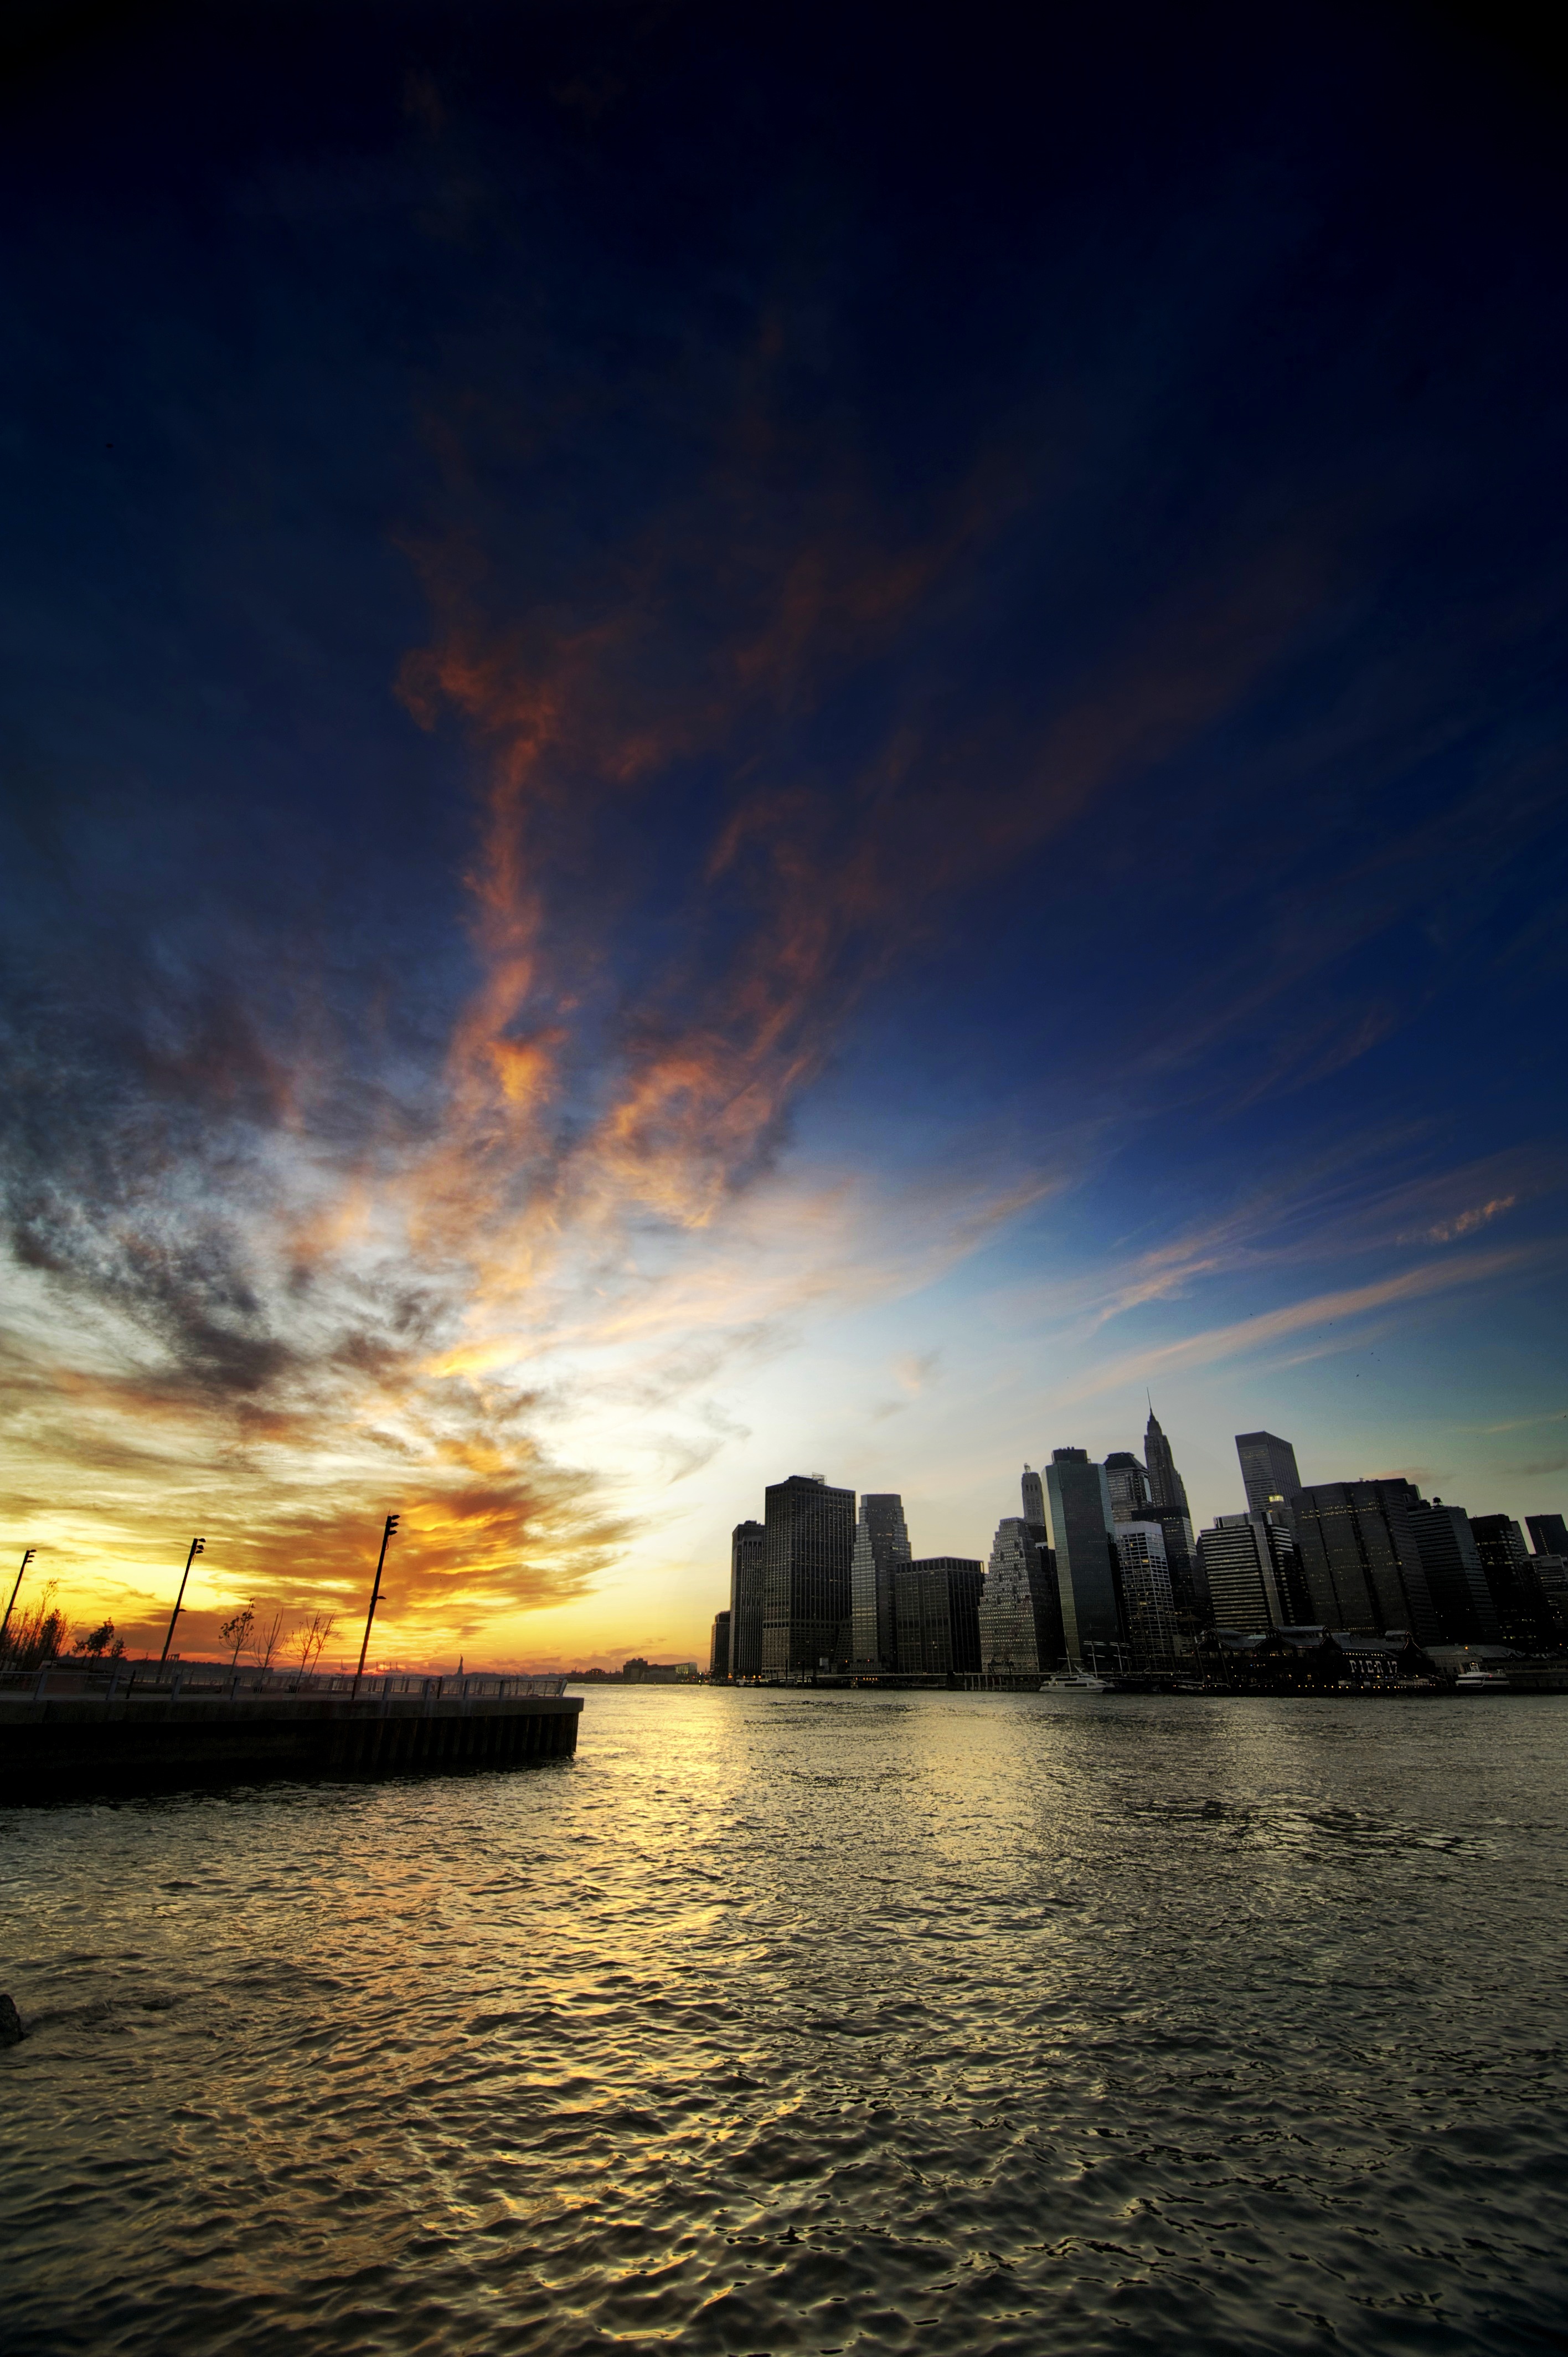
Above is the photo I originally posted, below the version I created today in Filterstorm. I’ve improved upon the original, getting better dynamic range and avoiding the blackening on the top of the skyline like in the original.
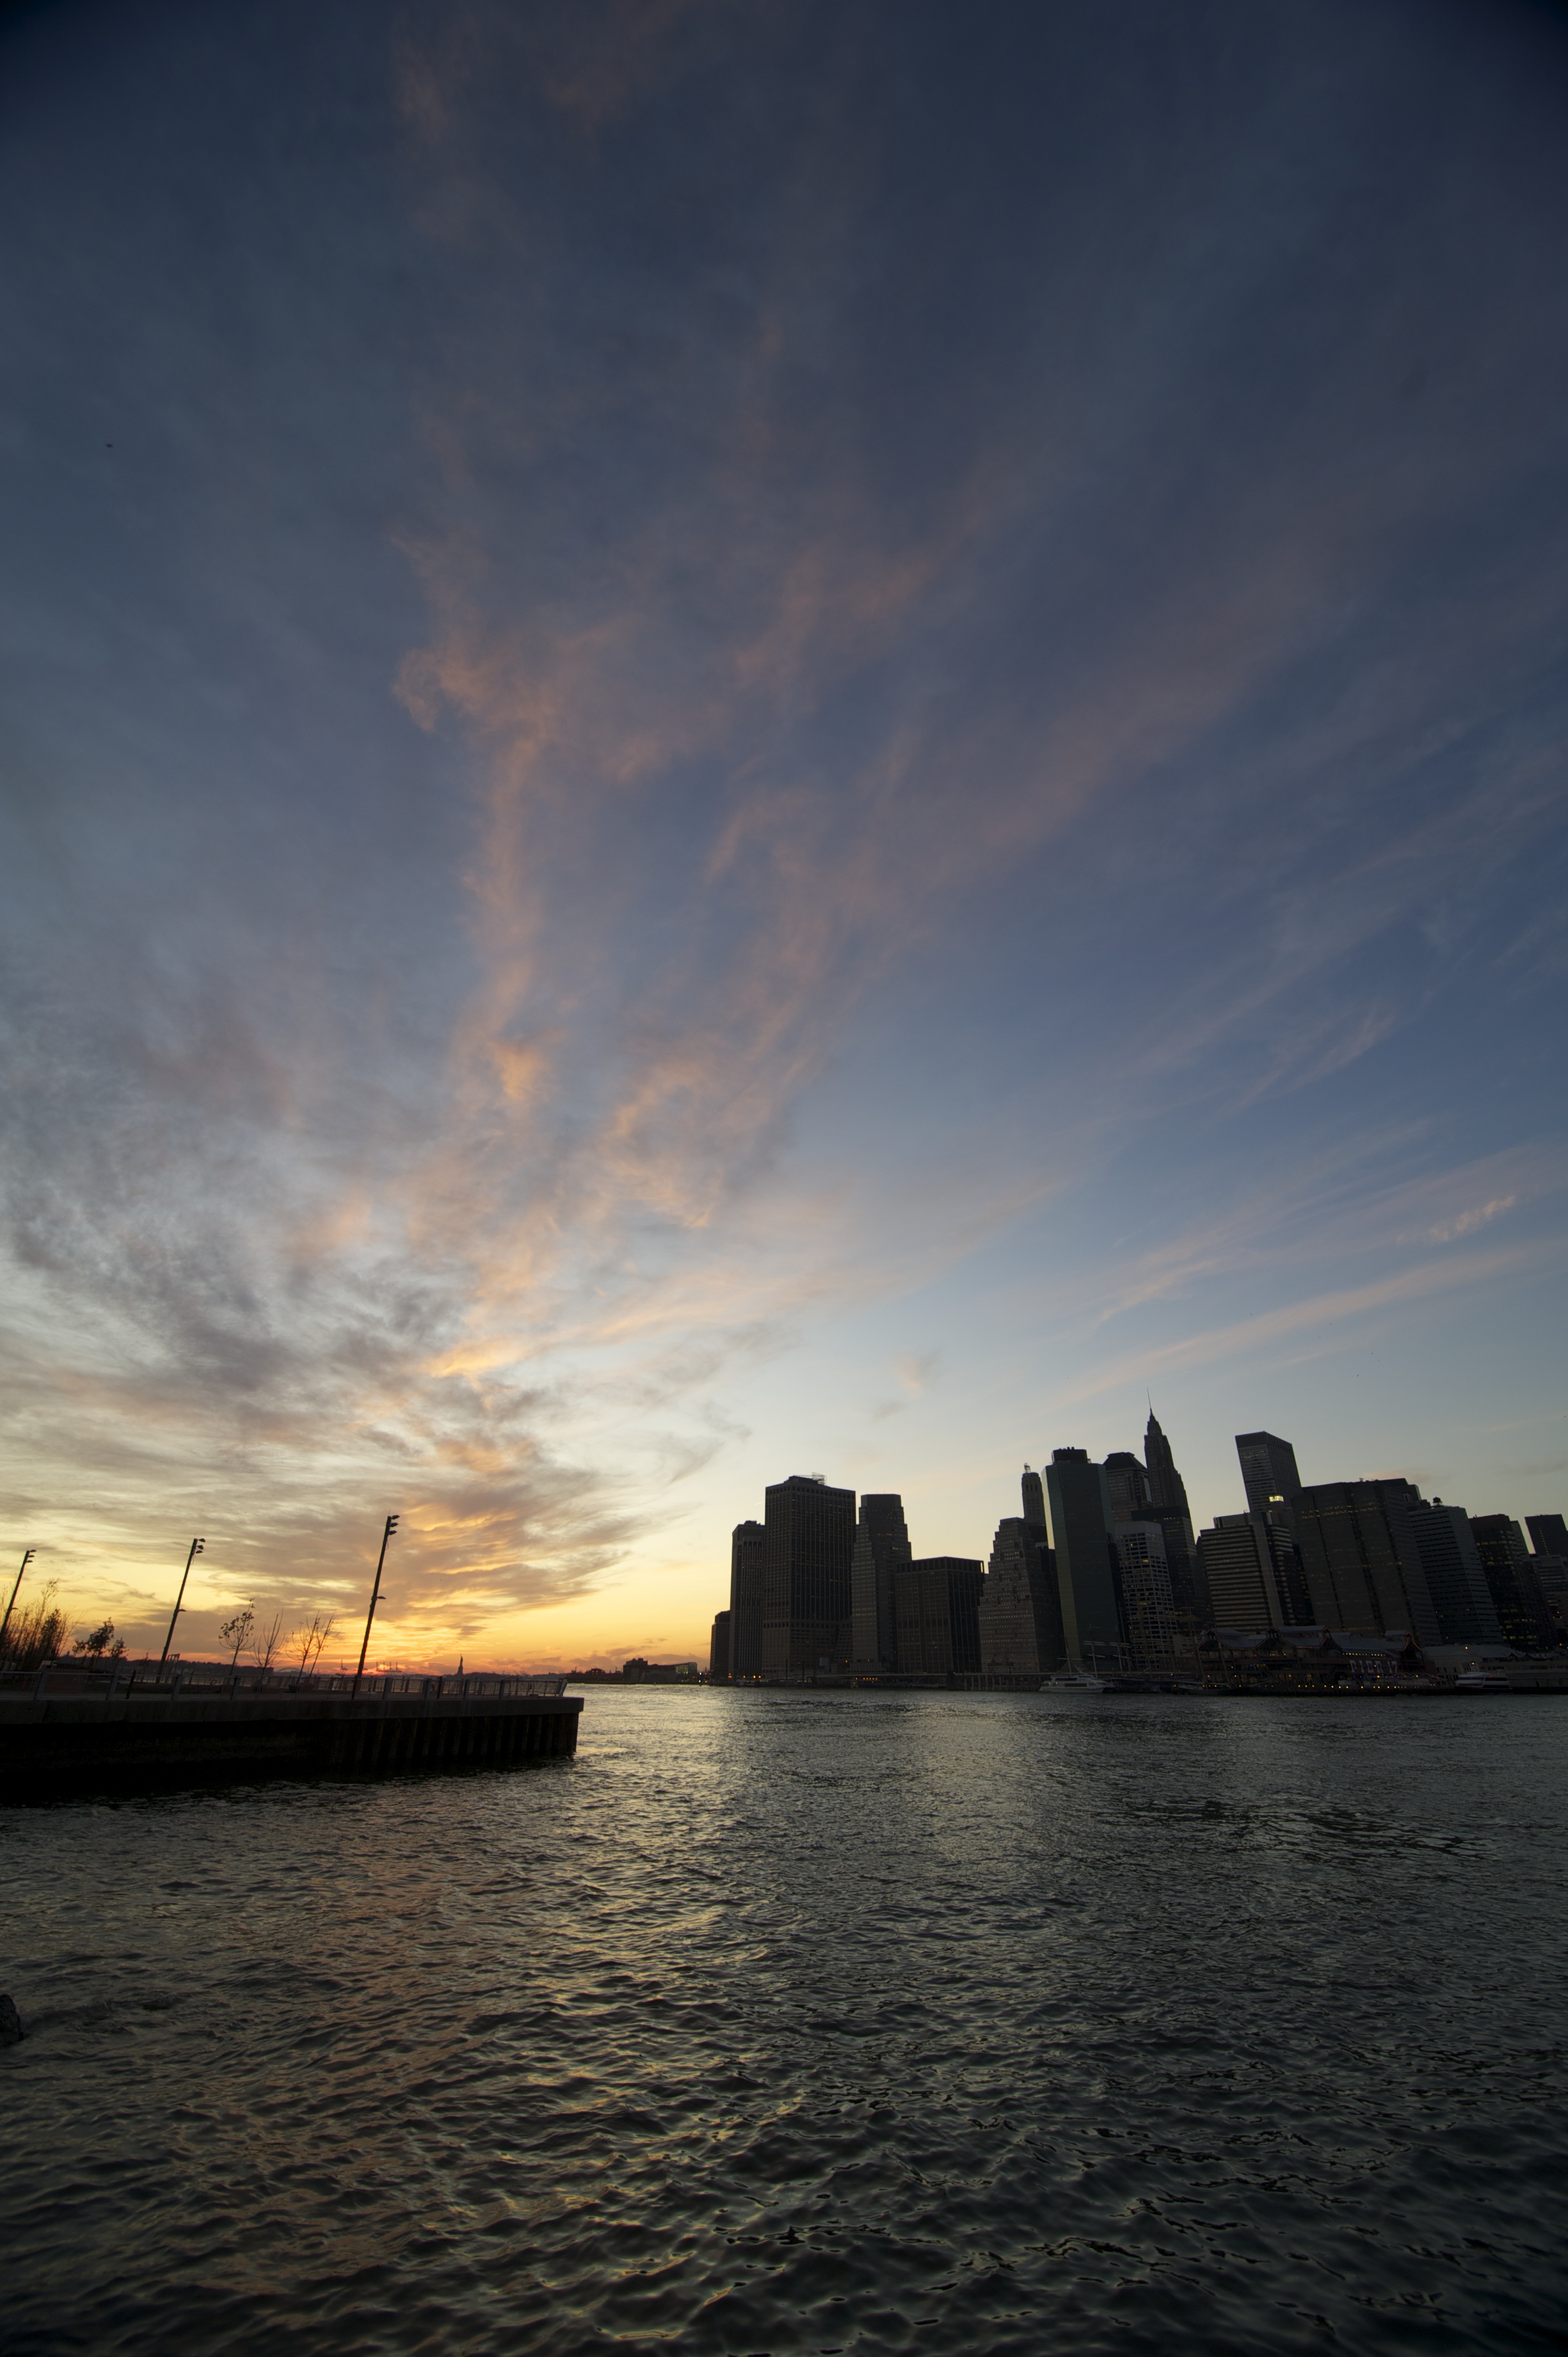
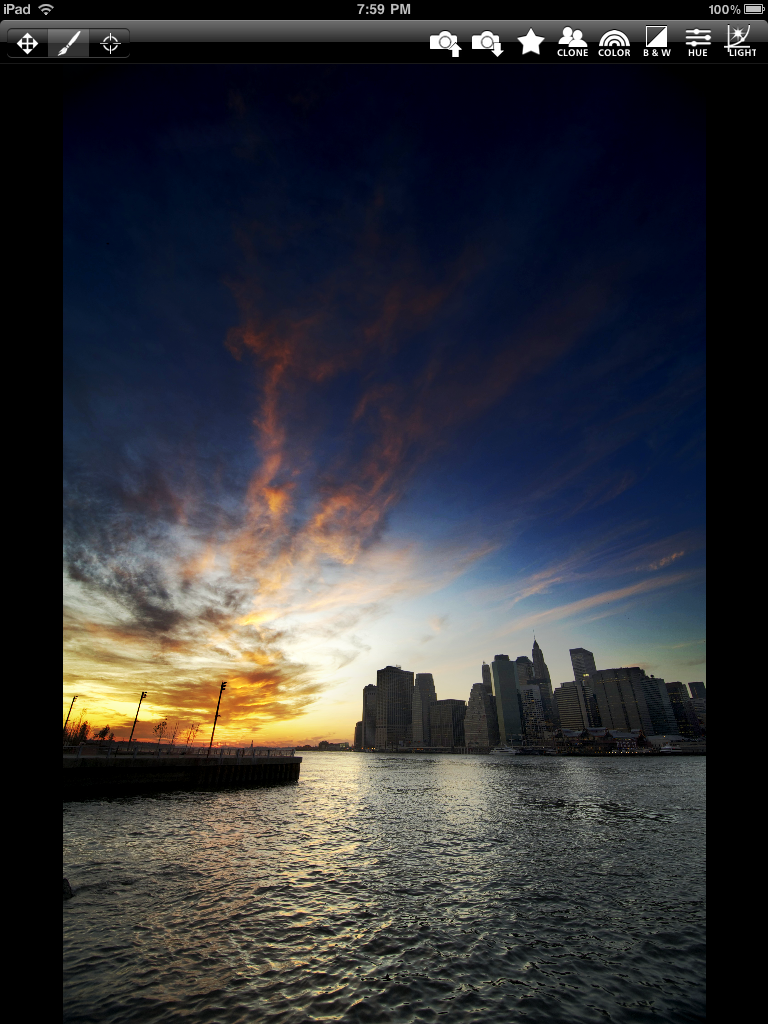
Here is the original jpeg, converted from RAW using Aperture’s default settings. The sky is too bright, the rest underexposed, and the color isn’t nearly dramatic enough.
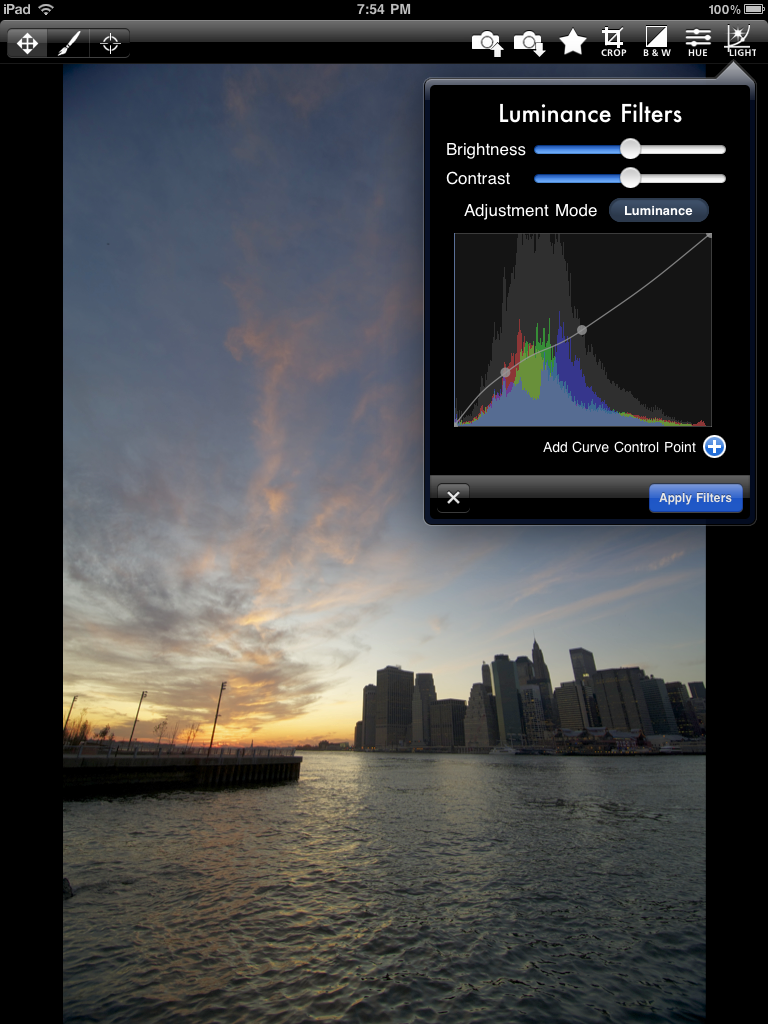
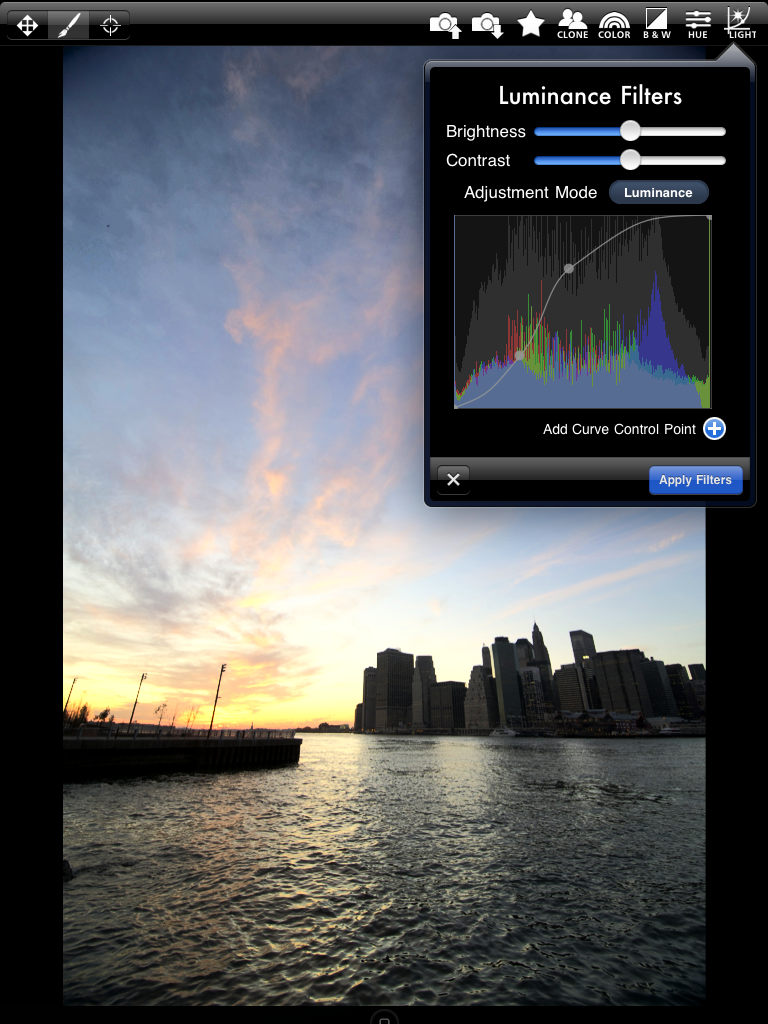
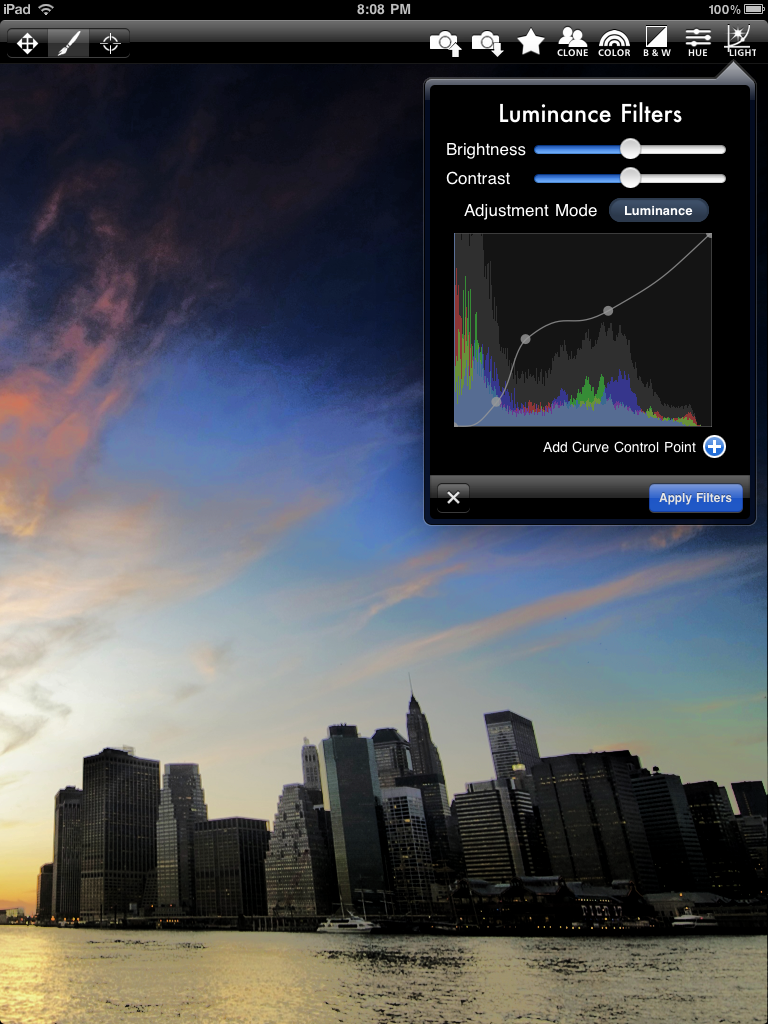
The first thing I did after opening in filterstorm is to go into the luminance filters popover, and adjust the curves as shown to bring up the shadow brightness. If you look at the top left, you’ll see the mode switch is on the leftmost option, full image mode. When on this mode you can pan by flicking your finger, zoom by pinching, and every adjustment you make gets applied to the full image.
If you look at the mode switch here, it’s now set to the brush icon. In brush mode, touching and dragging on the screen draws on the picture rather than scrolling it. What’s displayed on the screen when the popover is present is a preview of what the brush will draw. Here I adjust the curves to get good contrast on the water, and ignore the fact that the sky gets blown out, as I will paint this adjustment only onto the water.

Here you can see what happened once I painted on the effect. Everything is as it was before, except now the water’s exposure is better.
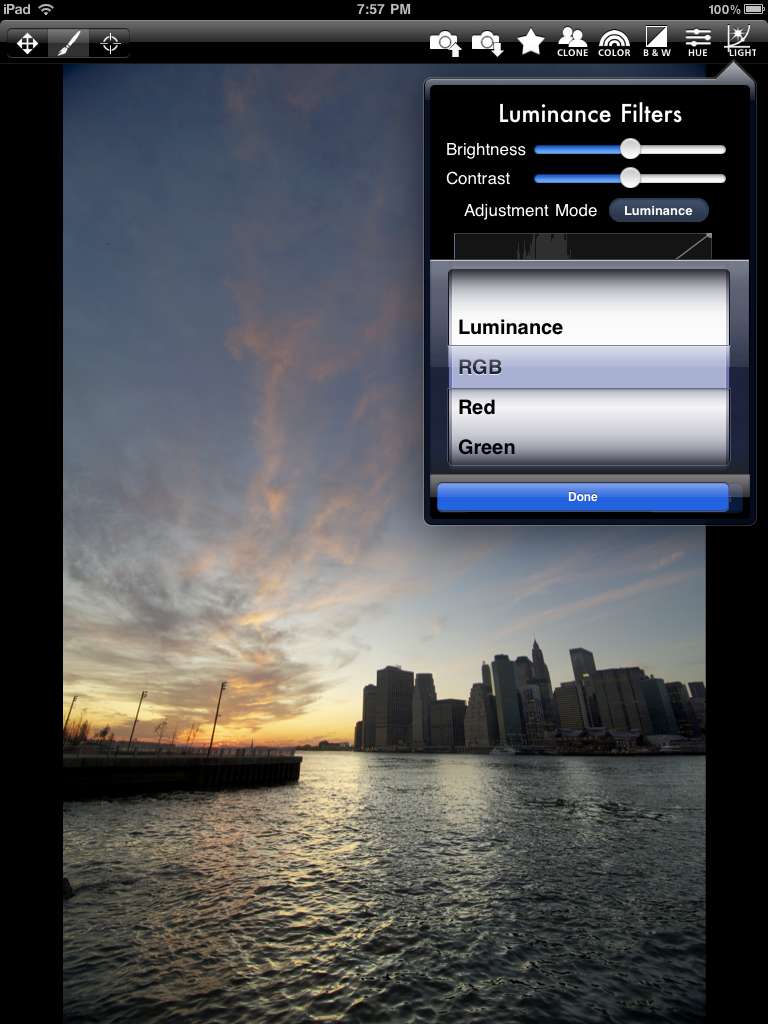
I’m still in brush mode, and now I’m focusing on the sky. I’m switching to RGB curves rather than luminance, because when pulling exposure back with RGB curves it will saturate the image more, something I want in this case.
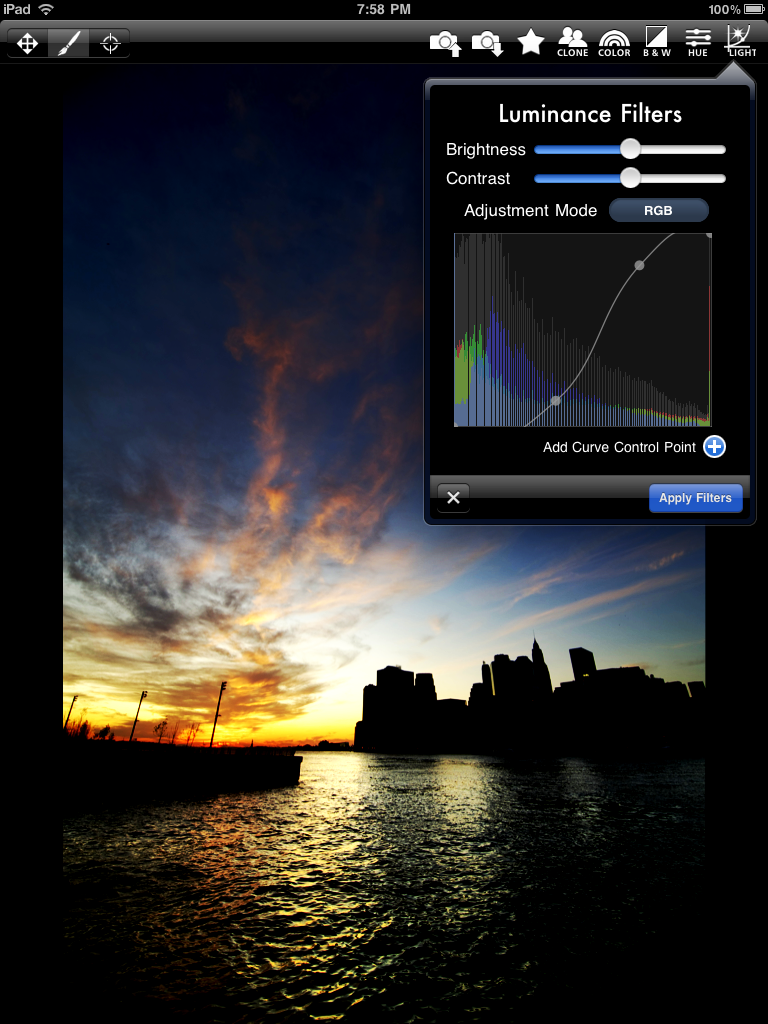
Here I adjust the curves how I see fit for the sky, to get color and contrast that will give the feeling of the real scene.
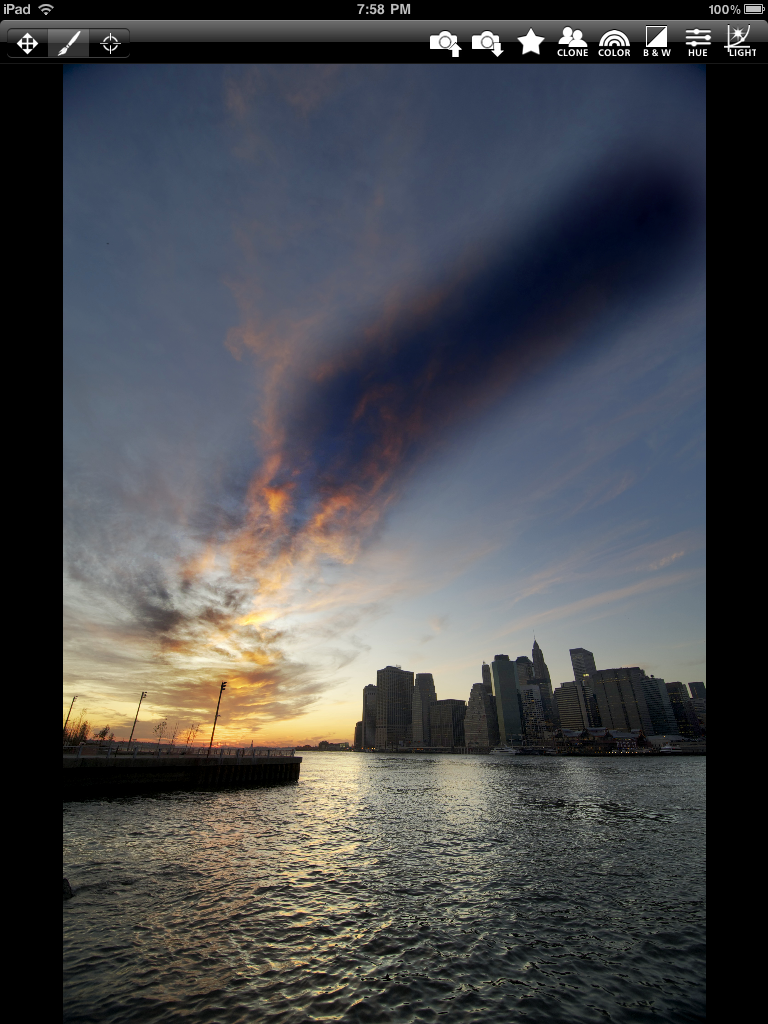
I took this screen capture to show what it looks like while painting the sky, so you get a bit more of the process rather than before and after. Below is what happens once the sky is done.
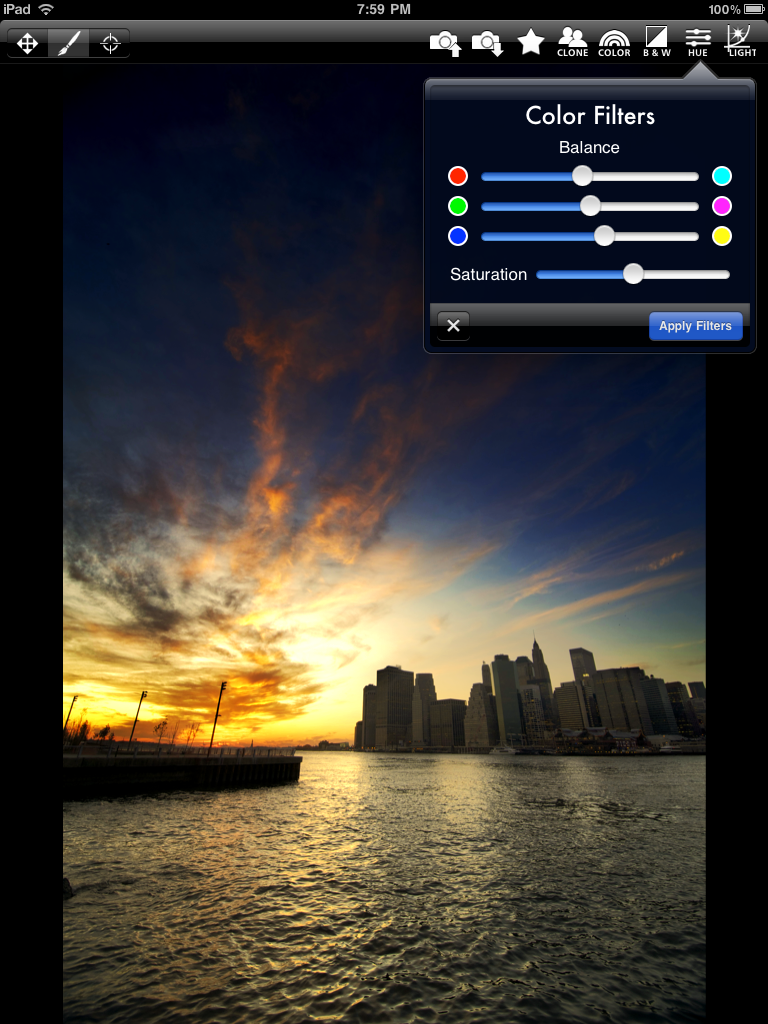
I felt the color of the water was too cold for the scene, so I changed the color balance and painted on a bit of a golden sheen to it.

Final step here is to get a bit more contrast on the buildings, they were under-exposed in the original and had little dynamic range to them, so I bump up the contrast what’s left, and I’m done once I paint it on!
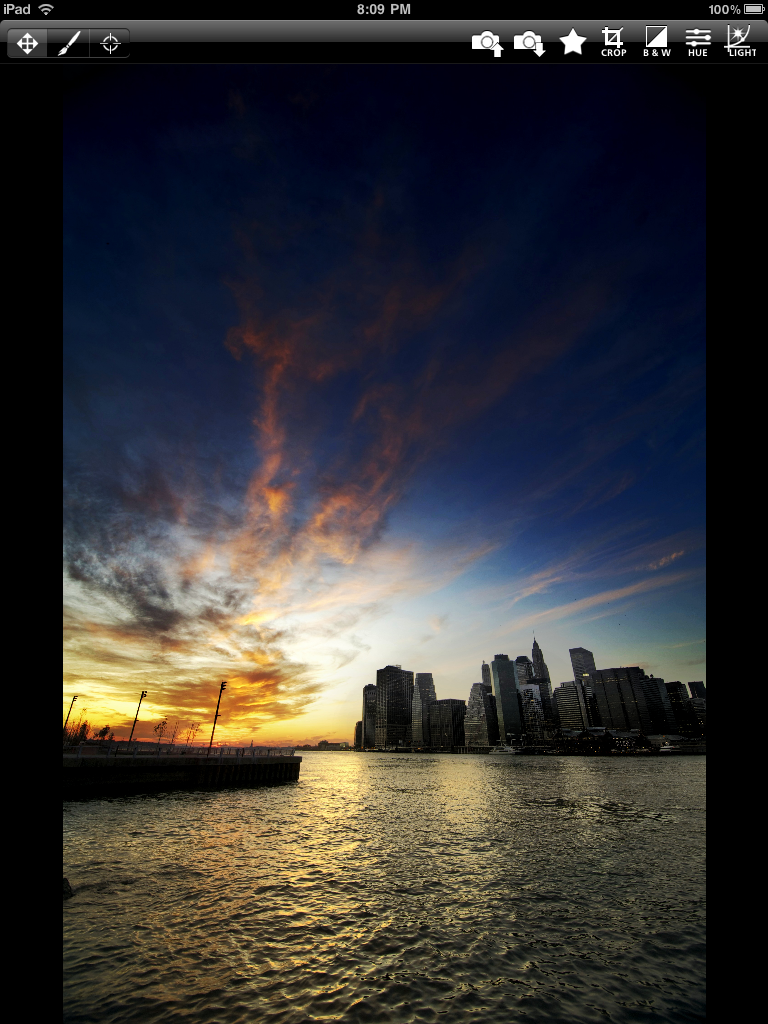
Once again, here’s the finished product. It’s not only better than my original version, it was also a simpler process. I used overlay layers to accomplish much of what I did in the original version, which has the advantage of being able to more easily go back and change things I later decide I don’t like, but the disadvantage of being a more complex process. iPad’s release is only 16 days away; with any luck Filterstorm won’t be far behind.